Joystick Deadzone Test - measure your stick's dead zone
Use this joystick deadzone test to explore small stick readings near center. Move each stick slowly while the page plots the input it receives. The estimate depends on your movement and the reported values. It cannot measure physical stick travel or read the deadzone setting inside a game.
Explore small movements near center
Connect your controller
Plug in your controller via USB or pair it via Bluetooth. Press any button to wake the controller - browsers require this before exposing gamepad input for privacy reasons.
Start the 8-second test
Click Start. The test begins plotting your stick positions in real time and capturing every sampled magnitude.
Roll both sticks slowly in small circles
Do not push to the edges. The deadzone is hidden in the small radius around center, so gentle motions reveal it. The trail visualization shows your stick path as a fading swirl.
Read the deadzone radius
When the test completes, the fuchsia ring shows your effective deadzone radius on each plotter. The numeric result is the smallest consistent input magnitude your stick produces.
What the numbers mean
The deadzone radius reports as a value from 0.000 (no deadzone) to 1.000 (full travel ignored). Compare your result to the ranges below.
| Deadzone Value | Verdict | What It Means |
|---|---|---|
| < 0.05 | Tight | Maximum responsiveness. Common in pro-grade controllers and raw input modes. |
| 0.05 - 0.10 | Normal | Healthy range. Factory default on most modern PS5, Xbox, and Switch controllers. |
| 0.10 - 0.20 | Wide | Detectable lag at small stick movements. Affects precision aiming and slow camera control. |
| > 0.20 | Excessive | Worn stick or misconfigured driver. Recalibrate the controller, or replace the analog stick module. |
Find where small stick inputs start to appear
Move slowly near the center
Start at rest and push each stick outward in small steps. Repeat in several directions. Fast circles can skip the smallest visible values and make the estimate look larger.
This test uses the small nonzero readings it receives. It cannot see how far your thumb moved before the first reading arrived.
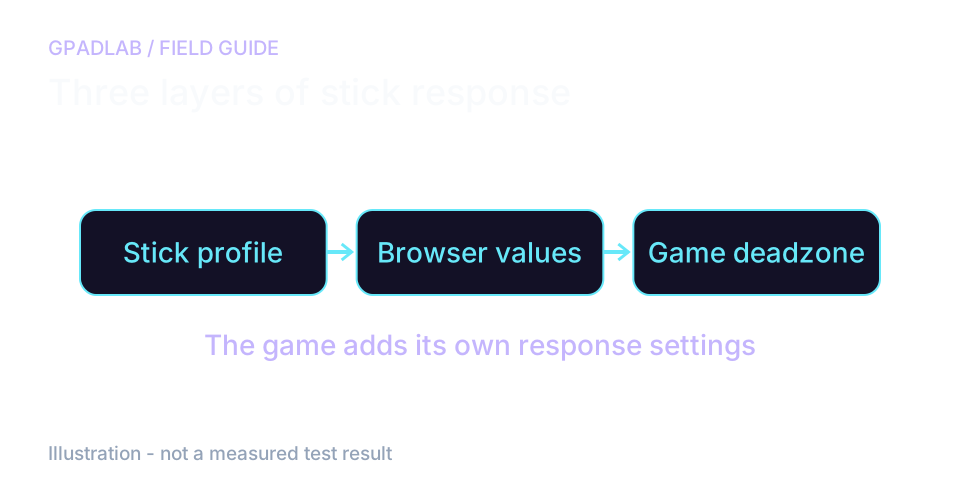
A game setting is a separate check
If small aim changes feel lost in one game, inspect that game's deadzone and any Steam Input profile. The browser result does not reveal those settings.
For a practical comparison, note the current settings, change one at a time, and try the same slow movement in the game. If the stick moves on its own at rest, run the Stick Drift Test too.
Compatible devices
The deadzone test works with any controller your operating system recognizes as a standard gamepad. Device guides below can help with setup. Confirm support on your browser and connection before interpreting results.
Deadzone repair guides
Key definitions
Plain-language definitions for the terms used on this page. Each links to the full glossary entry with thresholds, mechanism, and FAQs.
Related diagnostics
Deadzone questions
A joystick deadzone is the radius around the center of an analog stick where input is intentionally ignored. It exists to prevent sensor noise and minor stick imperfections from triggering unwanted movement. Most controllers ship with a deadzone between 0.05 and 0.10 on a normalized scale of 0 to 1.
Without a deadzone, every tiny vibration or sensor fluctuation would be reported as input. Characters would drift, cameras would creep, and aim would never sit still. The deadzone is the price of clean centering. The tradeoff is responsiveness - a wider deadzone means more stick movement is ignored before any input registers.
We sample your stick's X and Y axes via the Gamepad API at your display's refresh rate while you roll the sticks in small circles. We collect all observed magnitudes, filter out sensor noise below 0.003, and report the 5th-percentile value as the effective deadzone - the smallest consistent magnitude your stick produces under intentional movement.
The displayed bands describe this tool's small-output estimate. They are not universal factory settings. A larger result can come from movement technique, configuration, or reported input. Check the game and controller profile before drawing a hardware conclusion.
Yes, in software. On Windows, the operating system and individual games each apply their own deadzone on top of the hardware. Tools like Steam Input, DS4Windows, and game-specific settings let you set a custom deadzone - typically a value between 0.00 and your hardware floor. Setting it below your hardware floor will introduce stick drift, so test first.
Games apply their own deadzone scaling on top of the operating system's value. A game with an aggressive deadzone (Call of Duty defaults to around 0.10) will feel less responsive than one with a tight deadzone (most fighting games use under 0.05). The hardware deadzone our test measures is the floor - games can only widen it, not narrow it below the hardware reading.
No. A deadzone too small for your hardware causes phantom input - the stick registers movement when you are not touching it. Competitive players want the smallest deadzone that still feels stable. The right value depends on your specific controller's sensor noise floor, which is exactly what this test measures.
Deadzone masks drift. A wider deadzone hides minor drift by ignoring small-magnitude input - including the drift itself. This is why wider hardware deadzones often appear on older or worn controllers: drivers compensate for sensor wear by widening the deadzone. Run our Stick Drift Test alongside this one to confirm whether your stick is healthy or being masked.
How we measure deadzones
The page collects stick magnitudes for eight seconds. It filters values below 0.003 and uses the fifth percentile of the remaining values as an estimate. This is a small-output reading, not a measurement of physical travel or an in-game setting. Slow movement and repeat runs help make the estimate useful.Dedicated methodology article not yet published; see the methodology hub for the methods currently available.
Run the GPADLAB Controller Health Score
The Controller Benchmark combines six core diagnostic stages into GPADLAB's site-defined composite score. Use the stage breakdown for diagnosis and the score for repeat comparison.
Run the Benchmark